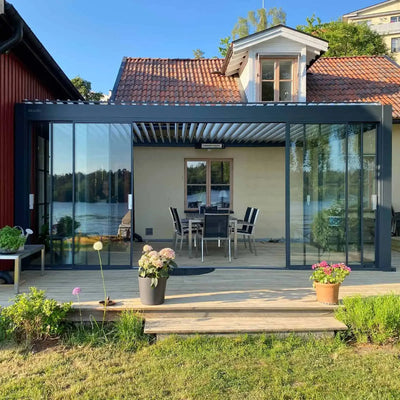
Ready to add a stylish Pergola to your backyard or patio? The AlunoTec PERGO-M6 Pergola is ideal for you, and installing the AlunoTec PERGO-M6 Pergola can be quick and easy. Below is a brief and concise installation guide to help you either as a DIY beginner or a seasoned enthusiast to complete your Pergola with ease.

-
Site selection and preparation: Choose a flat and open area to install your Pergola. Make sure the site is away from trees and high buildings to avoid accumulation of leaves and other debris.
- Tools and materials:Before starting, make sure all the required materials and tools are available, including screws, nails, posts, etc., as well as the necessary drill and level.
- Install the base: Firmly installing the base is the key to ensuring the stability of the Pergola. You can choose to fix the posts directly to the concrete or use a heavy-duty base.
- Build the main structure: Install the posts and beams in order. Use a level to make sure each section is perfectly level.
- Install the roof and additional equipment: Install the roof according to the guidelines and make sure all panels are tightly attached. In addition, accessories such as Side Blinds or heater can be added.
- Inspection and beautification: Once assembled, carry out a thorough inspection to ensure that all connections are secure. Then, beautify it according to your personal preferences, such as adding strings of lights or arranging outdoor furniture to make the Pergola a highlight of your home.

By following these concise steps, you can quickly complete the installation of your AlunoTec PERGO-M6 Pergola and start enjoying your new outdoor space. For more installation tips, subscribe to our channel. Contact us today and let us help you design and install your ideal pergola!