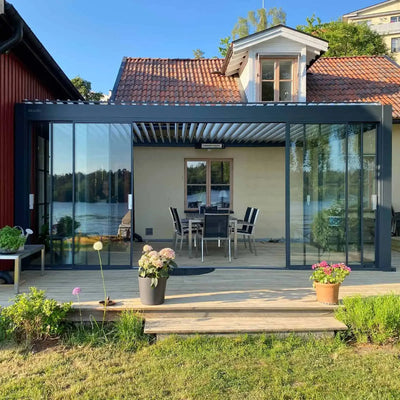
Transforming your outdoor space with a stylish pergola has never been easier. The AlunoTec PERGO-V has a straightforward installation process that can greatly enhance your garden or patio. Ideal for relaxing, dining, or entertaining, you can install your pergola by following this simple guide.

Preparation Phase
Step 1: Unboxing
Carefully open the packaging of the PERGO-V components. Before proceeding, ensure all parts are accounted for.
Step 2: Check parts and instructions
Check all parts against the list provided and read the installation manual carefully to familiarize yourself with the pergola components.
Step 3: Assemble the Base
First, remove all screws from the base components. Firmly install each base and then reinsert the screws to ensure a solid foundation.
Step 4: Place Motor Wiring
Carefully route the motor wires through the designated water seal terminals. This step is critical to ensure that the wiring is in the correct location for later connection to the motor during beam installation.

Installation Phase
Step 1: Assemble the Frame
With the help of 4-5 people, start securely assembling the pergola frame. Make sure each part fits tightly before fastening it with screws.
Step 2: Install the Beams
Mount the main support beams onto the upright posts. Ensure each connection is tight and stable to form a strong structure.
Step 3: Position the Posts
Place all four posts. Use a level and measuring tape to adjust the angles and measure distances accurately to maintain symmetry and balance.
Step 4: Connect the Beams
Install the side beams to connect all upright posts, securing the overall frame of the pergola.

Step 5: Install the Gutter System
Install the gutter system around the pergola and connect the built-in lighting. Ensure all electrical connections are secure and waterproof.
Step 6: Unpack the Louvers
Open the louver packaging and carefully remove the protective film. Handle each louver with care to avoid scratches.
Step 7: Install the Top Louvers
Install the top louvers, starting with the drive louver, which is crucial for manual operation of the pergola.
Step 8: Install the Connecting Rods
Securely install the connecting rods and attach the end caps, completing the mechanical installation of the louvers.

Final Inspection Phase
Step 1: Secure All Components
Recheck each connection point, inspecting all screws and fittings to ensure all parts are tightly assembled.
Step 2: Test the Louvers
Open and close the louvers to test their functionality, ensuring smooth movement without any obstructions.
Step 3: Check the Power Supply
Finally, test the power connections to ensure all electrical components, especially the lighting, are working properly.

Once these steps have been completed, you can enjoy your new outdoor leisure space. The AlunoTec PERGO-V not only provides a functional shaded area but also enhances the aesthetic appeal of your outdoor space, making it a perfect choice whether it's a sunny day or a starlit night.
Stay tuned to our YouTube channel for timely access to the latest video content and updates. Contact us immediately with your needs and let us assist you in designing and installing your ideal Pergola!